

Endurance II Quick-Start Guide
Setup and Configuration Instructions
This guide will help you set up and configure your Endurance II digital speedometer for off-road vehicles.
Buttons Overview

The Endurance II has three buttons:
- Button 1 (Top Left): Increases values.
- Button 2 (Bottom Left): Decreases values.
- Button 3 (Right Side): Switches modes or advances to the next setting.
Settings Menu
Follow these steps to configure your Endurance II:
Entering Setup Menu
Press and hold buttons 1, 2, and 3 simultaneously for three seconds to access the setup menu.
Set Distance Units
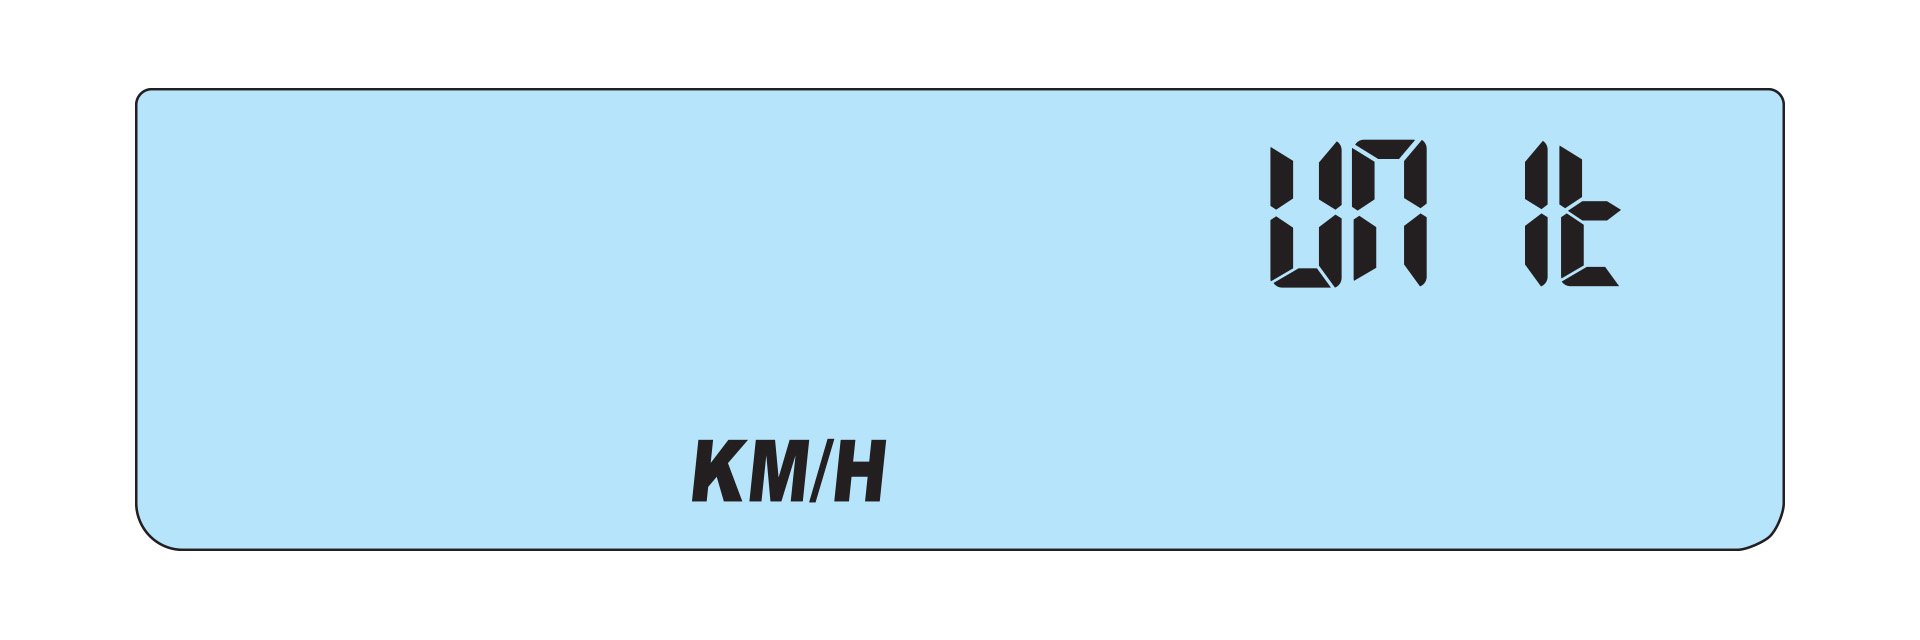
Use button 1 or 2 to choose between KM/H or M/H.
Set Clock Format
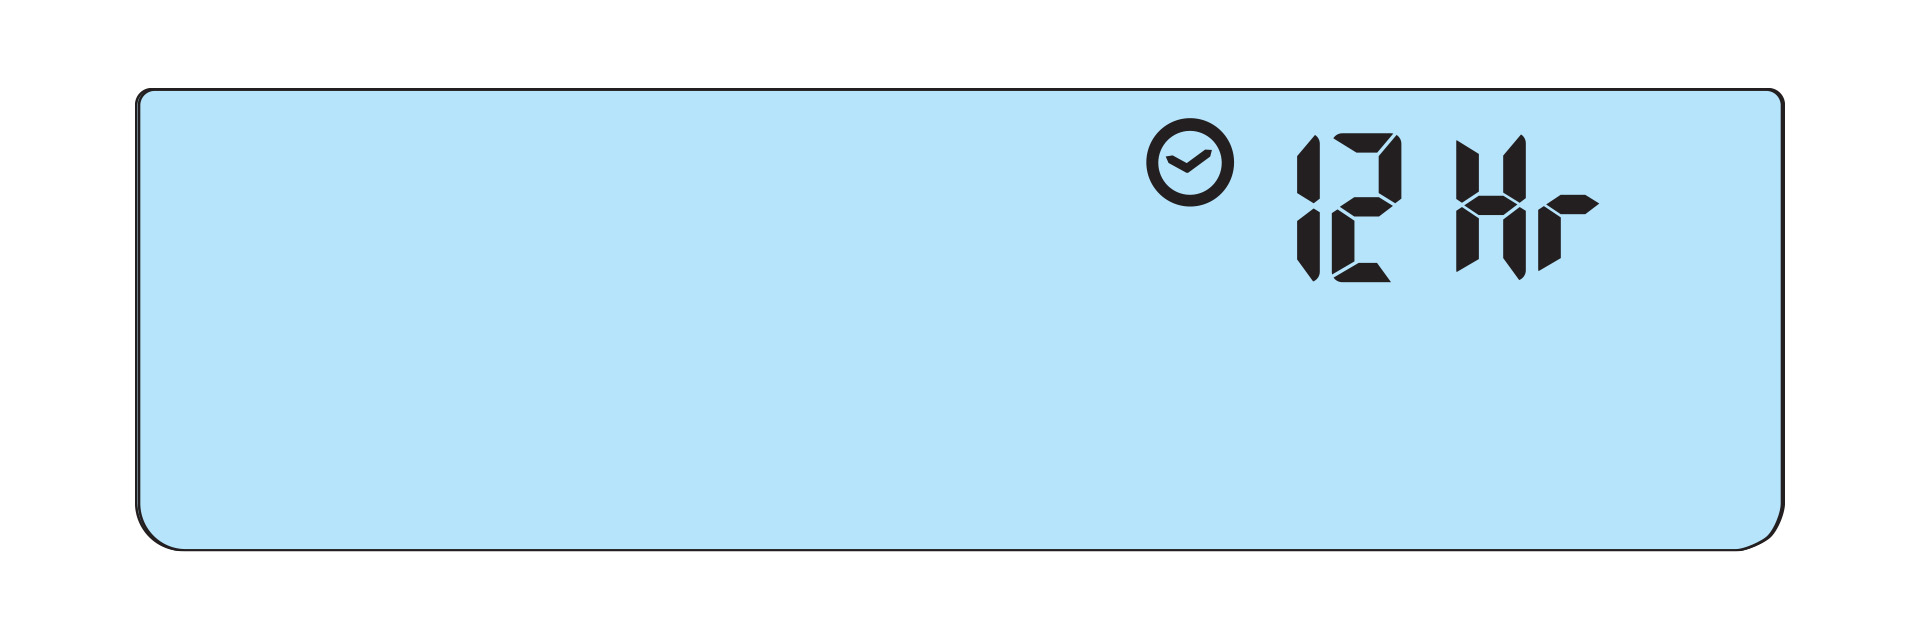
Select either 12-hour or 24-hour clock format using button 1 or 2.
Select Maintenance Reminder Method
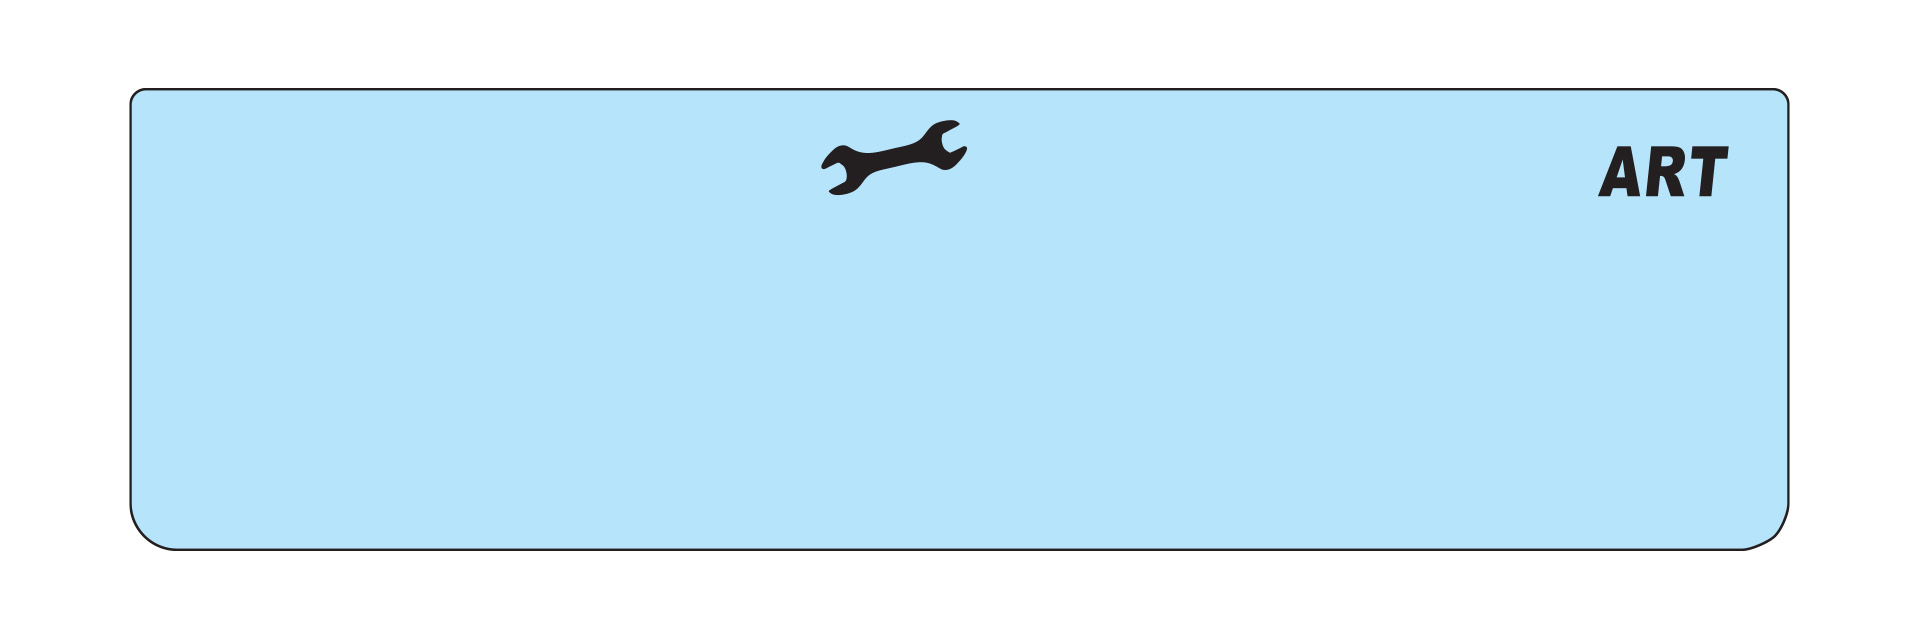
Choose to track maintenance by distance (ODO) or time (ART).
Set Tire Size
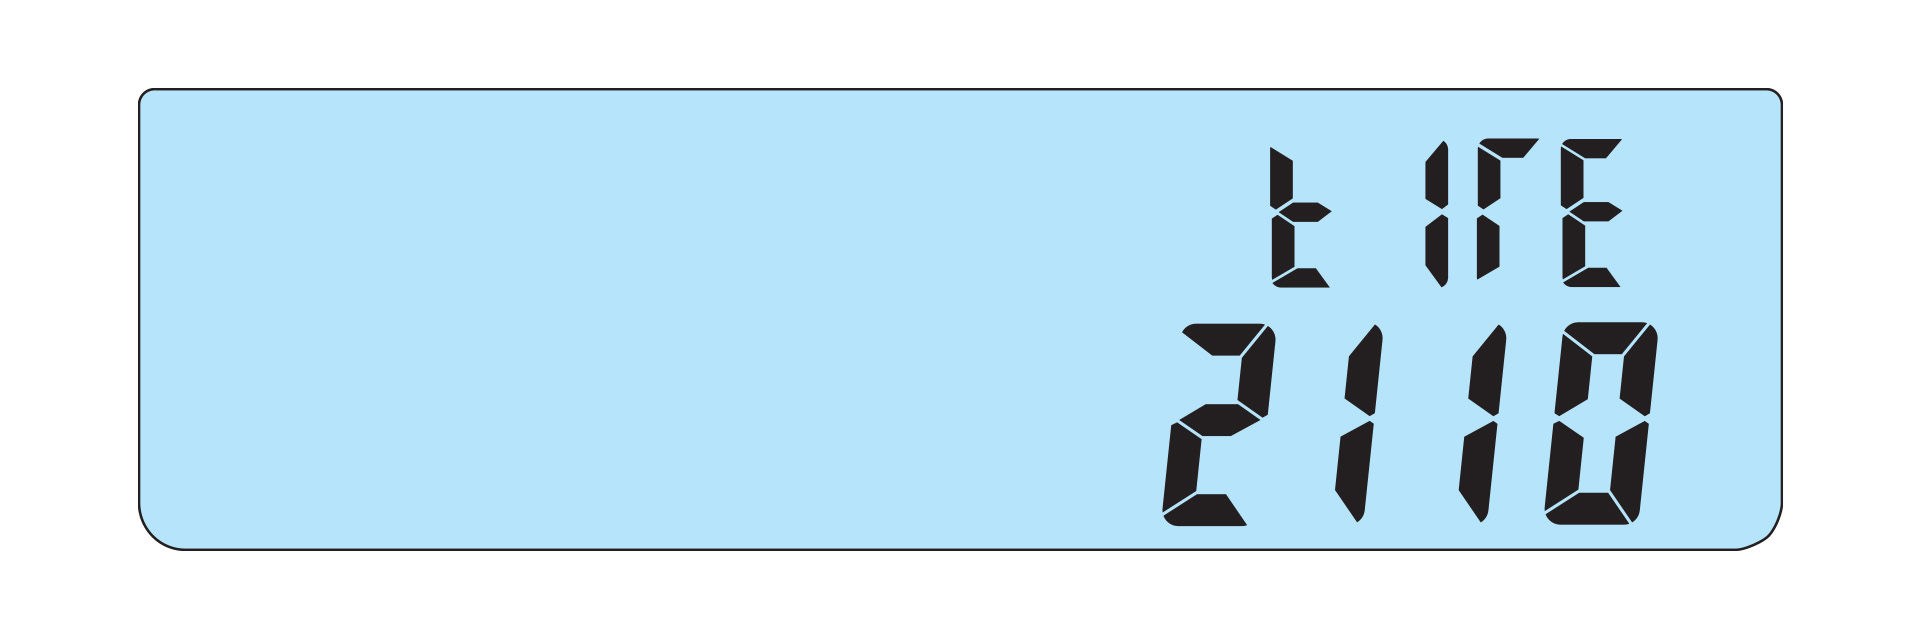
Adjust the tire size in millimeters to match your vehicle's specifications.
Set Time of Day
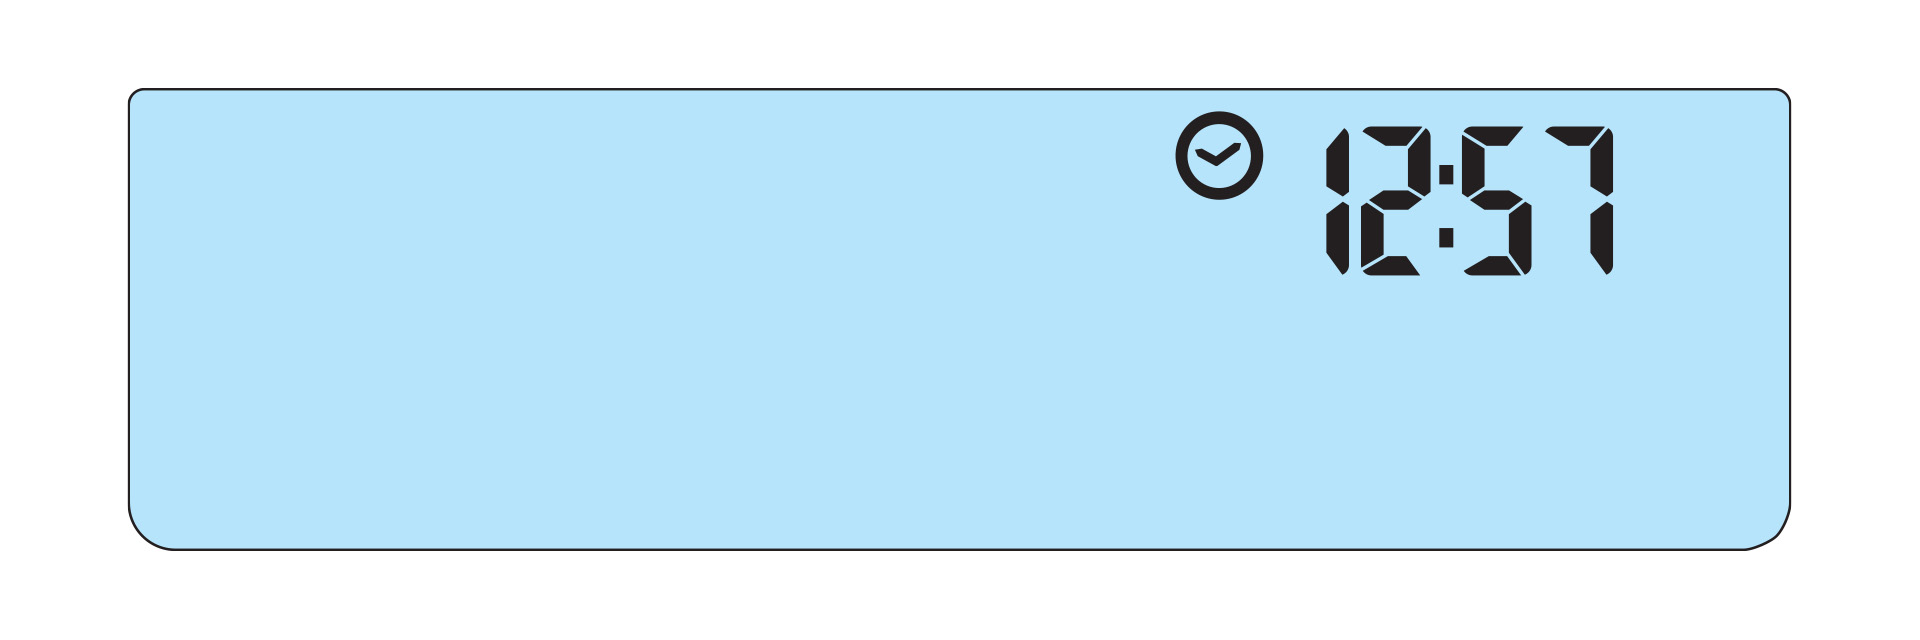
Use button 1 or 2 to set the current time.
Select Maintenance Reminder Interval
Set the interval for maintenance reminders, either based on accumulated hours or mileage.
Screen 1 Adjustments
Reset DST

Press and hold buttons 1 and 2 for three seconds to reset DST.
Adjust DST
Press and hold button 3 on Screen 1 to adjust DST. Use buttons 1 and 2 to increase or decrease DST, then press button 3 to return to the main screen.
Screen 2 Adjustments
Reset DST2, Ride Time, and AVG Speed
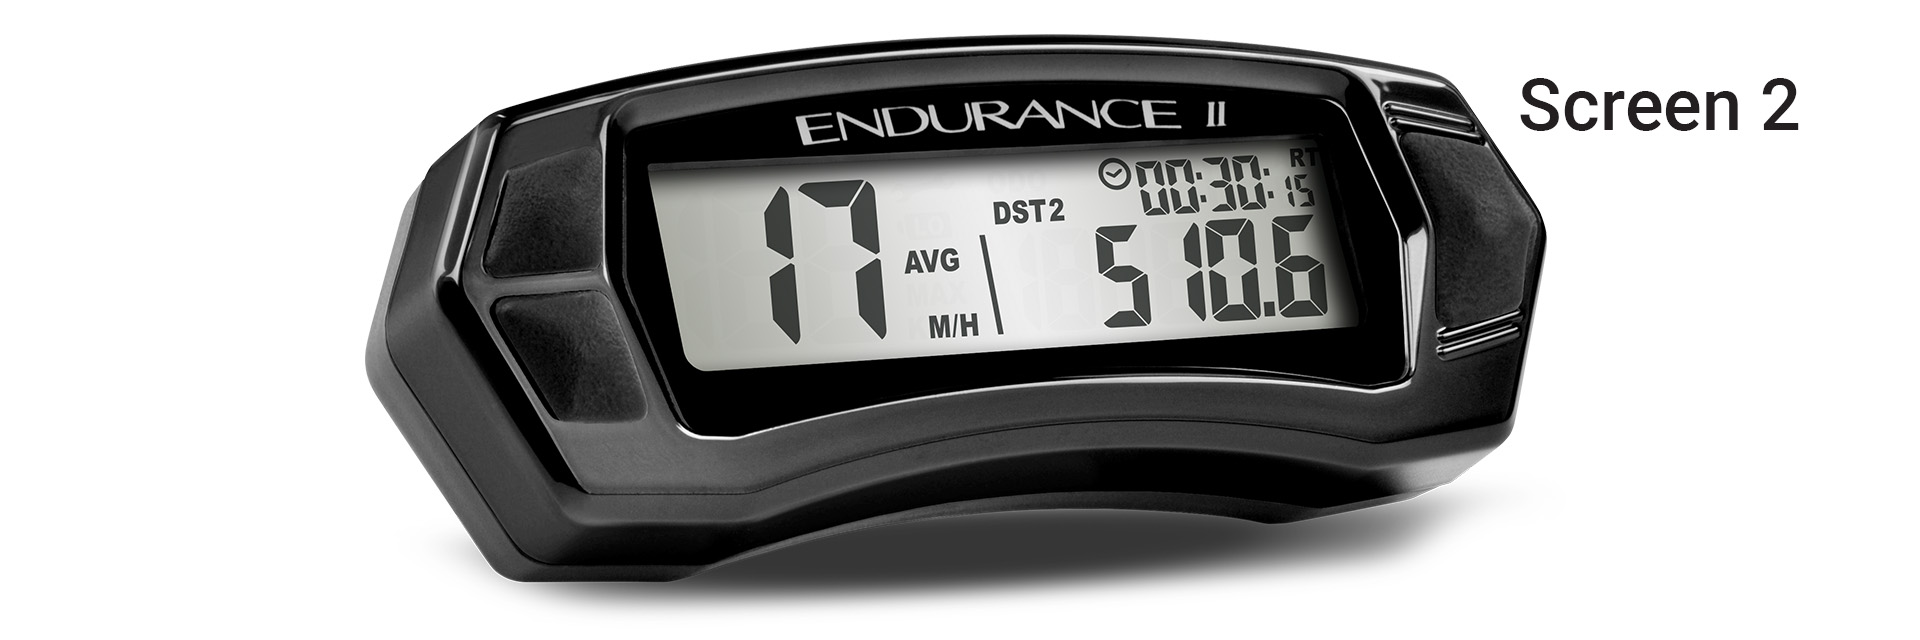
Press and hold buttons 1 and 2 on Screen 2 to reset DST2, ride time, and average speed.
Adjust DST2
Press and hold button 3 on Screen 2 to adjust DST2. Use buttons 1 and 2 to modify the values, then press button 3 to return to the main screen.
Screen 3 Adjustments
Reset Max Speed
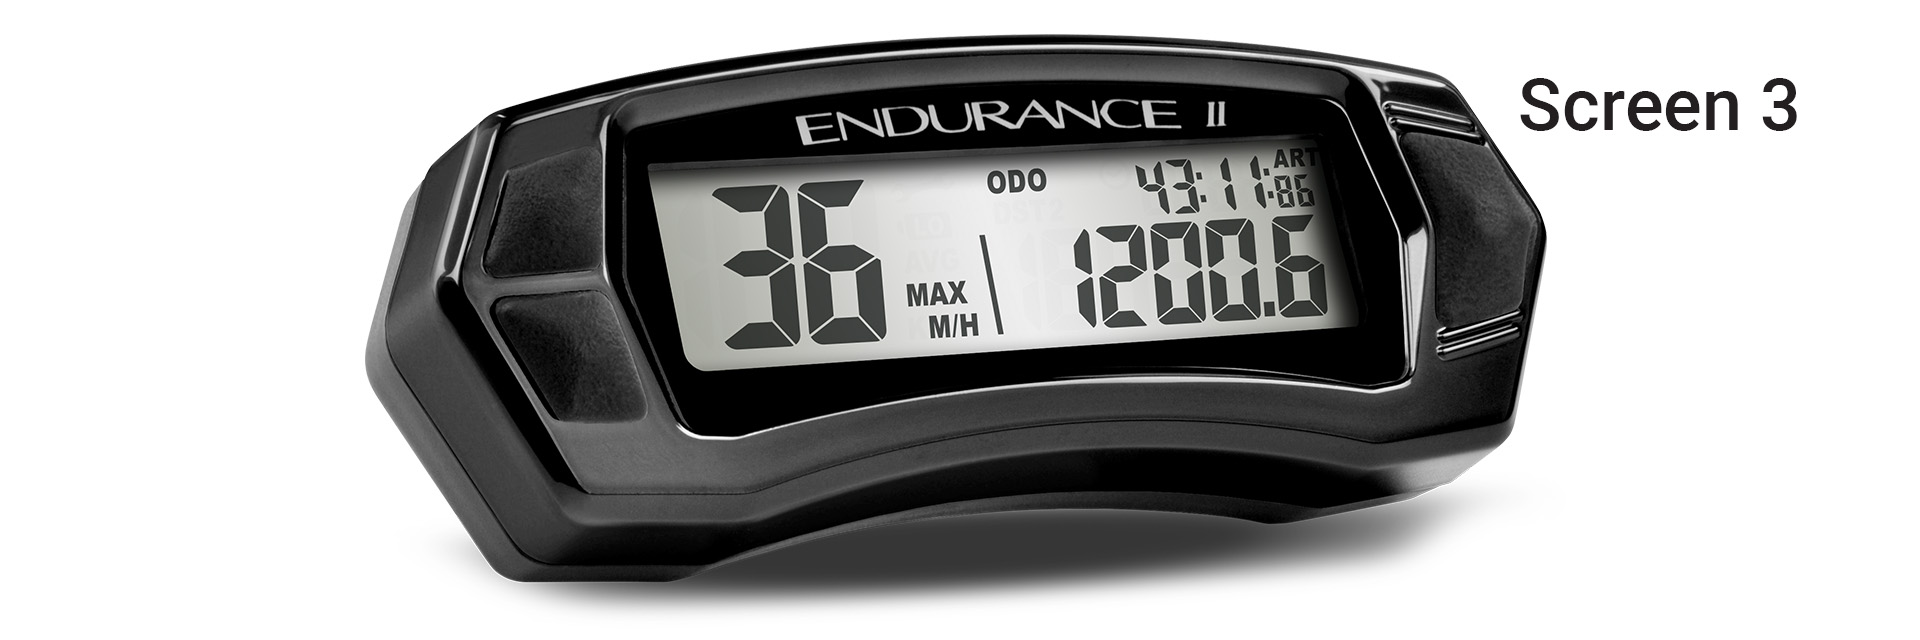
Press and hold buttons 1 and 2 on Screen 3 to reset the maximum speed.
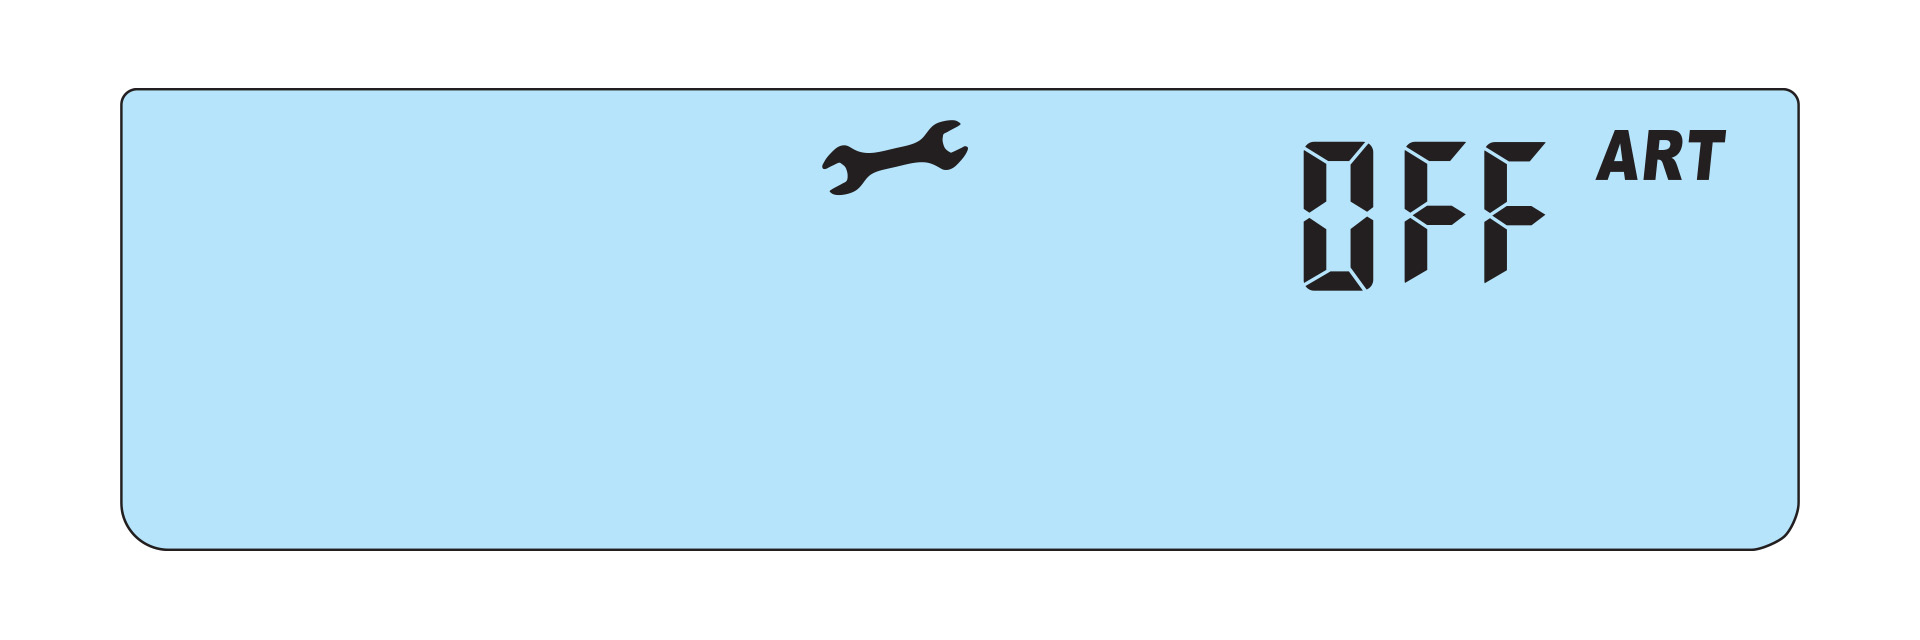
View Maintenance Time Remaining
To view the remaining maintenance time, press and hold button 3 on Screen 3. The maintenance icon will appear when the time has run out.
When the Maintenance Icon is Displayed
Hold button 3 to enter the maintenance interval screen. To reset, hold buttons 1 and 2 for three seconds.
Power Connection
The Endurance II can be powered using three different methods:
Option 1: Connect to 12V Vehicle Battery

Connect the red wire to the positive (+) battery terminal and the black wire to the negative (-) terminal. Secure the cable with zip ties as needed.
Option 2: System Tap
Tap into the electrical system, such as the lights, ignition, or CDI. Ensure the power is uninterrupted by the key switch.
Option 3: MX Bikes
For motocross bikes without a 12V system, connect the power leads to the ignition power leads from the stator.
Power Notes
Important notes regarding power usage:
- Wakes on external power from the bike.
- Wakes on wheel movement.
- Wakes on button press.
- Backlight turns off after 90 seconds of inactivity when on external power.
- After 180 seconds of inactivity, only the clock will remain displayed.

